Difference between revisions of "Dwarfs - MM10"
m (Text replace - "image:" to "file:") |
|||
| (One intermediate revision by one other user not shown) | |||
| Line 1: | Line 1: | ||
| − | The aim of this page is to collect images of all the figures rather than the line drawings shown in the Marauder catalog. | + | The aim of this page is to collect images of all the figures rather than the line drawings shown in the Marauder catalog.<BR> The DW numbers refer to the inscriptions on the tabs of the Dwarf concerned. |
<gallery> | <gallery> | ||
| − | + | file:MM10_DW1.jpg|DW1 | |
| − | + | file:MM10_DW2.jpg|DW2 | |
| − | + | file:MM10_DW3.jpg|DW3 | |
| − | + | file:MM10_DW4.jpg|DW4 | |
| − | + | file:MM10_DW5.jpg|DW5 | |
| − | + | file:MM10_DW6.jpg|DW6 | |
| − | + | file:MM10_DW7.jpg|DW7 | |
| − | + | file:MM10_DW8.jpg|DW8 | |
| − | + | file:MM10_DW9.jpg|DW9 | |
| − | + | file:MM10_DW10.jpg|DW10 | |
| − | + | file:MM10_DW11.jpg|DW11 | |
| − | + | file:MM10_DW12.jpg|DW12 | |
| − | + | file:MM10_DW13.jpg|DW13 | |
| − | + | file:MM10_DW14.jpg|DW14 | |
| − | + | file:MM10_DW15.jpg|DW15 | |
| − | + | file:MM10_DW16.jpg|DW16 | |
| − | + | file:MM10_DW17.jpg|DW17 | |
| − | + | file:MM10_DW18.jpg|DW18 | |
| − | + | file:MM10_DW19.jpg|DW19 | |
| − | + | file:MM10_DW20.jpg|DW20 | |
| − | + | file:MM10_DW21.jpg|DW21 | |
| − | + | file:MM10_DW22.jpg|DW22 | |
| − | + | file:MM10_DW23.jpg|DW23 | |
| − | + | file:MM10_DW24.jpg|DW24 | |
| − | + | file:MM10_DW25.jpg|DW25 | |
| − | + | file:MM10_DW26.jpg|DW26 | |
| − | + | file:MM10_DW27.jpg|DW27 | |
| − | + | file:MM10_DW28.jpg|DW28 | |
| − | + | file:MM10_DW29.jpg|DW29 | |
| − | + | file:MM10_DW30.jpg|DW30 | |
</gallery> | </gallery> | ||
Latest revision as of 22:27, 27 May 2011
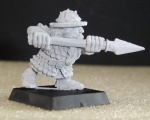
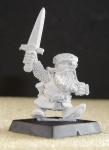
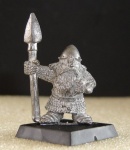
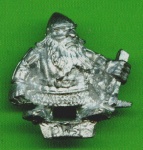
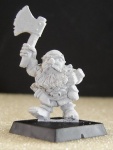
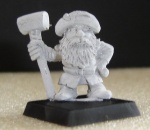
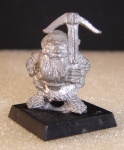
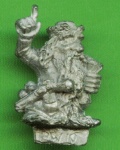
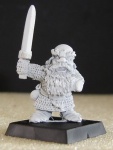
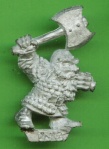
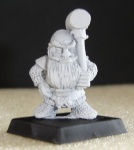
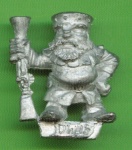
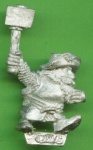
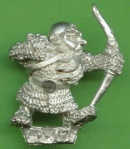
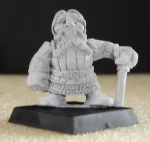
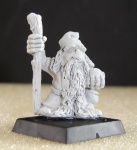
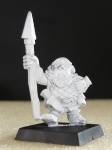
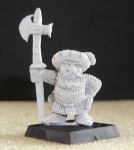
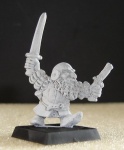
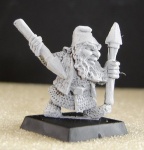
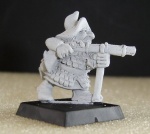
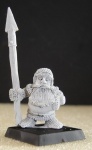
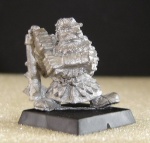
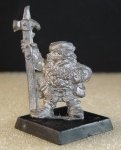
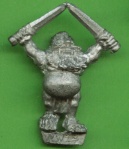
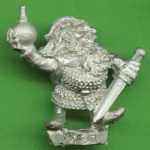
The aim of this page is to collect images of all the figures rather than the line drawings shown in the Marauder catalog.
The DW numbers refer to the inscriptions on the tabs of the Dwarf concerned.
DW1
DW2

DW3
DW4
DW5
DW6
DW7
DW8

DW9
DW10
DW11
DW12
DW13

DW14
DW15
DW16
DW17
DW18
DW19
DW20
DW21
DW22
DW23
DW24
DW25

DW26
DW27
DW28
DW29
DW30


