Difference between revisions of "Halflings - Slotta Based"
| Line 6: | Line 6: | ||
<gallery> | <gallery> | ||
| − | image:J86-01.jpg|Hugo - Raconteur | + | image:J86-01.jpg|<center>Hugo - Raconteur |
| − | image:J86-02.jpg|Adam | + | image:J86-02.jpg|<center>Adam |
| − | image:J86-03.jpg|Albi | + | image:J86-03.jpg|<center>Albi |
| − | image:J86-04.jpg|Rildo | + | image:J86-04.jpg|<center>Rildo |
| − | image:J86-05.jpg|Bargol | + | image:J86-05.jpg|<center>Bargol |
| − | image:J86-06.jpg|Felix - Ratcatcher | + | image:J86-06.jpg|<center>Felix - Ratcatcher |
| − | image:J86-07.jpg|Waldo - Militia | + | image:J86-07.jpg|<center>Waldo - Militia |
| − | image:J86-08.jpg|Ferdo | + | image:J86-08.jpg|<center>Ferdo |
| − | image:J86-09.jpg|Harthol | + | image:J86-09.jpg|<center>Harthol |
| − | image:J86-10.jpg|Poldo | + | image:J86-10.jpg|<center>Poldo |
| − | image:J86-11.jpg|Leo - Watchman | + | image:J86-11.jpg|<center>Leo - Watchman |
| − | image:J86-12.jpg|Timbul | + | image:J86-12.jpg|<center>Timbul |
| − | image:J86-13.jpg|Dibbul | + | image:J86-13.jpg|<center>Dibbul and Dabbul |
| − | image:J86-14.jpg|Logar | + | image:J86-14.jpg|<center>Logar |
| − | image:J86-15.jpg|Renko | + | image:J86-15.jpg|<center>Renko |
| − | image:J86-16.jpg|Mangul | + | image:J86-16.jpg|<center>Mangul |
| − | image:J86-17.jpg|Hando - Militia | + | image:J86-17.jpg|<center>Hando - Militia |
| − | image:J86-18.jpg|Tobias | + | image:J86-18.jpg|<center>Tobias |
| − | image:J86-19.jpg|Gobbul | + | image:J86-19.jpg|<center>Gobbul |
| − | image:J86-20.jpg|Boldo - Watchman | + | image:J86-20.jpg|<center>Boldo - Watchman |
| − | image:J86-21.jpg|Hiero | + | image:J86-21.jpg|<center>Hiero |
| − | image:J86-22.jpg|Scrumper - Drunk | + | image:J86-22.jpg|<center>Scrumper - Drunk |
| − | image:J86-23.jpg|Hanbul | + | image:J86-23.jpg|<center>Hanbul |
| − | image:J86-24.jpg|Willy - Pedlar | + | image:J86-24.jpg|<center>Willy - Pedlar |
| − | image:J86-25.jpg|Swingul | + | image:J86-25.jpg|<center>Swingul |
| − | image:J86-26.jpg|Theo | + | image:J86-26.jpg|<center>Theo |
| − | image:J86-27.jpg|Udo | + | image:J86-27.jpg|<center>Udo |
| − | image:J86-28.jpg|Frengar | + | image:J86-28.jpg|<center>Frengar |
| − | image:J86-29.jpg|Olly | + | image:J86-29.jpg|<center>Olly |
</gallery> | </gallery> | ||
| Line 42: | Line 42: | ||
<gallery> | <gallery> | ||
| − | image:AF-01.jpg|Slackjaw | + | image:AF-01.jpg|<center>Slackjaw |
| − | image:AF-02.jpg|Benni Bottomdown | + | image:AF-02.jpg|<center>Benni Bottomdown |
| − | image:AF-03.jpg|Croucher Cox Middlemarch | + | image:AF-03.jpg|<center>Croucher Cox Middlemarch |
| − | image:AF-04.jpg|Lotman Lowlegs | + | image:AF-04.jpg|<center>Lotman Lowlegs |
| − | image:AF-05.jpg|Alerman Goodfly | + | image:AF-05.jpg|<center>Alerman Goodfly |
| − | image:AF-06.jpg|Dery Podgebelly - (broken tab) | + | image:AF-06.jpg|<center>Dery Podgebelly - (broken tab) |
| − | image:AF-07.jpg|Stumpo Shingletom | + | image:AF-07.jpg|<center>Stumpo Shingletom |
| − | image:AF-08.jpg|Hamfist Halfwit | + | image:AF-08.jpg|<center>Hamfist Halfwit |
| − | image:AF-09.jpg|Hacker | + | image:AF-09.jpg|<center>Hacker |
| − | image:AF-10.jpg|Pippin Panhead | + | image:AF-10.jpg|<center>Pippin Panhead |
| − | image:AF-11.jpg|Peregrine Hairfoot | + | image:AF-11.jpg|<center>Peregrine Hairfoot |
| − | image:AF-12.jpg|Screaming Lord Titch | + | image:AF-12.jpg|<center>Screaming Lord Titch |
| − | image:F-13.jpg|Stigwort Facebracket | + | image:F-13.jpg|<center>Stigwort Facebracket |
</gallery> | </gallery> | ||
| Line 61: | Line 61: | ||
<gallery> | <gallery> | ||
| − | image:F-01.jpg|Lando & Grubb | + | image:F-01.jpg|<center>Lando & Grubb |
</gallery> | </gallery> | ||
| Line 68: | Line 68: | ||
<gallery> | <gallery> | ||
| − | image:Odd-01.jpg|Hornblower - unlisted | + | image:Odd-01.jpg|<center>Hornblower - unlisted |
| − | image:Odd-02.jpg|Radoc Timmowit ?? | + | image:Odd-02.jpg|<center>Radoc Timmowit ?? |
image:Odd-02a.jpg| | image:Odd-02a.jpg| | ||
| − | image:Odd-04.jpg|Poppin | + | image:Odd-04.jpg|<center>Poppin |
| − | image:Odd-06.jpg|Shadows over Bogenhafen | + | image:Odd-06.jpg|<center>Harbul <BR>Shadows over Bogenhafen |
| − | image:Odd-07.jpg|Talisman - Halfling | + | image:Odd-07.jpg|<center>Talisman - Halfling |
| − | image:Odd-08.jpg|Talisman - Irish Halfling (Leprechaun) | + | image:Odd-08.jpg|<center>Talisman - Irish Halfling <BR>(Leprechaun) |
</gallery> | </gallery> | ||
| Line 95: | Line 95: | ||
<gallery> | <gallery> | ||
| − | image:Odd-05.jpg|ME13 Frodo Mounted | + | image:Odd-05.jpg|<center>ME13 <BR>Frodo Mounted |
| − | image:LOTR-07.jpg|ME13 Frodo On Foot | + | image:LOTR-07.jpg|<center>ME13 <BR>Frodo On Foot |
| − | image:LOTR-13.jpg|Frodo (alternate) | + | image:LOTR-13.jpg|<center>Frodo with the One Ring <BR>(alternate) |
| − | image:LOTR-05.jpg|ME34 - Shire Hobbits | + | image:LOTR-05.jpg|<center>ME34 <BR>Frodo - Shire Hobbits |
| − | image:LOTR-02.jpg|ME34 - Shire Hobbits | + | image:LOTR-02.jpg|<center>ME34 <BR>Sam - Shire Hobbits |
| − | image:LOTR-04.jpg|ME34 - Shire Hobbits | + | image:LOTR-04.jpg|<center>ME34 <BR>Merry - Shire Hobbits |
| − | image:LOTR-03.jpg|ME34 - Shire Hobbits | + | image:LOTR-03.jpg|<center>ME34 <BR>Pippin - Shire Hobbits |
| − | image:LOTR-01.jpg|ME34 - Shire Hobbits | + | image:LOTR-01.jpg|<center>ME34 <BR>Bilbo - Shire Hobbits |
| − | image:LOTR-06.jpg|ME82 Bilbo | + | image:LOTR-06.jpg|<center>ME82 <BR>Bilbo<BR>'The Hobbit' Personalities |
| − | image:LOTR-08.jpg|ME82 Gollum/Smeagol | + | image:LOTR-08.jpg|<center>ME82 <BR>Gollum/Smeagol<BR>'The Hobbit' Personalities |
| − | image:LOTR-09.jpg|BME1 Fellowship of the Ring | + | image:LOTR-09.jpg|<center>BME1 <BR>Frodo - Fellowship of the Ring |
| − | image:LOTR-10.jpg|BME1 Fellowship of the Ring | + | image:LOTR-10.jpg|<center>BME1 <BR>Samwise - Fellowship of the Ring |
| − | image:LOTR-12.jpg|BME1 Fellowship of the Ring | + | image:LOTR-12.jpg|<center>BME1 <BR>Merry - Fellowship of the Ring |
| − | image:LOTR-11.jpg|BME1 Fellowship of the Ring | + | image:LOTR-11.jpg|<center>BME1 <BR>Pippin - Fellowship of the Ring |
</gallery> | </gallery> | ||
Revision as of 08:04, 18 November 2006
This page is here to show photos of the Halfling models from the Spring 86' Journal, April 86' Flyer and the January 88' Flyer. These models arent listed anywhere else but were in production as normal and not limited release or unreleased.
Contents
Spring 86' Journal
http://www.solegends.com/citc/c11halflings.htm
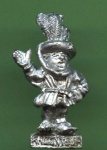
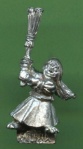
Hugo - Raconteur 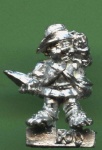
Adam 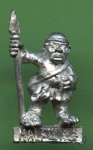
Albi 
Rildo 
Bargol 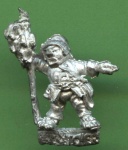
Felix - Ratcatcher 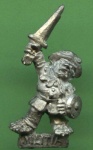
Waldo - Militia 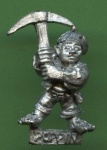
Ferdo 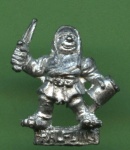
Harthol 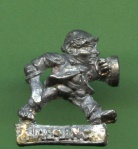
Poldo 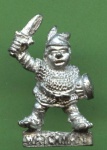
Leo - Watchman 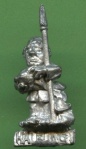
Timbul 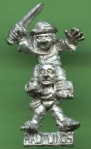
Dibbul and Dabbul 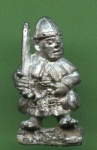
Logar 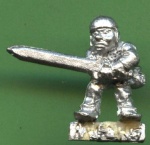
Renko 
Mangul 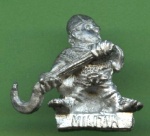
Hando - Militia 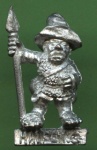
Tobias 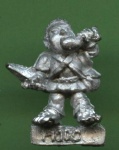
Gobbul 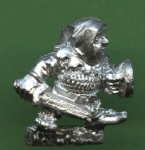
Boldo - Watchman 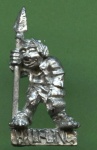
Hiero 
Scrumper - Drunk 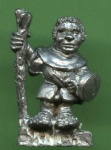
Hanbul 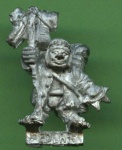
Willy - Pedlar 
Swingul 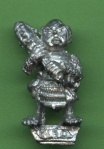
Theo 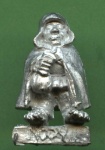
Udo 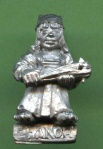
Frengar 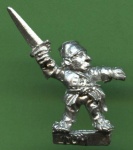
Olly


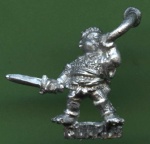
April 86 Flyer
http://www.solegends.com/citfly/citfly86/fly8604f-01.htm
Slackjaw 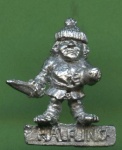
Benni Bottomdown 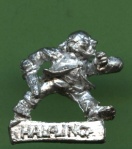
Croucher Cox Middlemarch 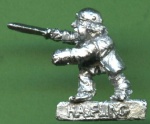
Lotman Lowlegs 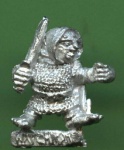
Alerman Goodfly 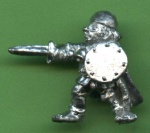
Dery Podgebelly - (broken tab) 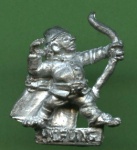
Stumpo Shingletom 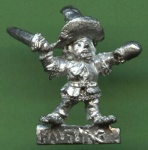
Hamfist Halfwit 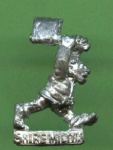
Hacker 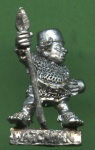
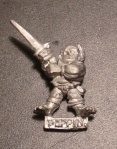
Pippin Panhead 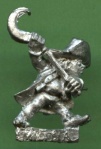
Peregrine Hairfoot 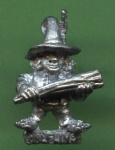
Screaming Lord Titch 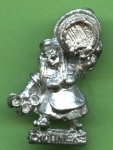
Stigwort Facebracket


January 88' Flyer
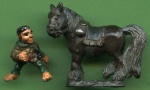
Lando & Grubb

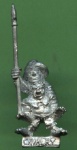
Unlisted & Other Sets
Hornblower - unlisted 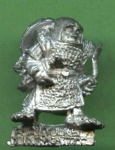
Radoc Timmowit ?? 
Poppin 
Harbul
Shadows over Bogenhafen
Talisman - Halfling 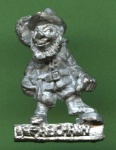
Talisman - Irish Halfling
(Leprechaun)


Marauder Halflings


The Lord of the Rings
ME13
Frodo Mounted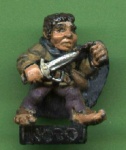
ME13
Frodo On Foot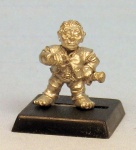
Frodo with the One Ring
(alternate)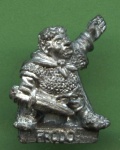
ME34
Frodo - Shire Hobbits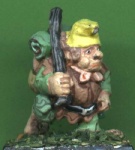
ME34
Sam - Shire Hobbits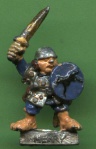
ME34
Merry - Shire Hobbits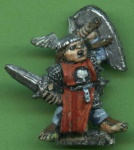
ME34
Pippin - Shire Hobbits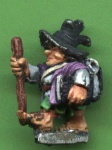
ME34
Bilbo - Shire Hobbits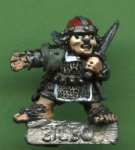
ME82
Bilbo
'The Hobbit' Personalities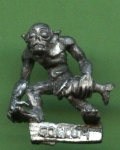
ME82
Gollum/Smeagol
'The Hobbit' Personalities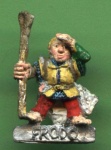
BME1
Frodo - Fellowship of the Ring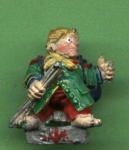
BME1
Samwise - Fellowship of the Ring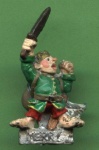
BME1
Merry - Fellowship of the Ring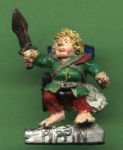
BME1
Pippin - Fellowship of the Ring


