Difference between revisions of "Necromunda"
| Line 314: | Line 314: | ||
</gallery> | </gallery> | ||
| + | == 1995-7 Redemptionists == | ||
| + | <gallery> | ||
| + | image:Goliath Arch Zealot.jpg|Arch Zealot | ||
| + | image:Redemptor Priest with meltagun.jpg|Redemptor Priest with meltagun | ||
| + | image:Redemptor Priest with flamer & sword.jpg|Redemptor Priest with flamer & sword | ||
| + | image:Deacon with grenade launcher.jpg|Deacon with grenade launcher | ||
| + | image:Deacon with flamer.jpg|Deacon with flamer | ||
| + | image:Zealot with eviscerator.jpg|Zealot with eviscerator | ||
| + | image:Zealot with massive axe.jpg|Zealot with massive axe | ||
| + | image:Brethren with shotgun 1.jpg|Brethren with shotgun 1 | ||
| + | image:Brethren with shotgun 2.jpg|Brethren with shotgun 2 | ||
| + | image:Brethren with stub gun & autopistol.jpg|Brethren with stub gun & autopistol | ||
| + | image:Brethren with autogun 1.jpg|Brethren with autogun 1 | ||
| + | image:Brethren with autogun 2.jpg|Brethren with autogun 2 | ||
| + | image:Brethren with two autopistols.jpg|Brethren with two autopistols | ||
| + | </gallery> | ||
| + | == 1995-7 Scavvies == | ||
| + | |||
| + | <gallery> | ||
| + | image:Scavvy Boss 1.jpg|Scavvy Boss 1 | ||
| + | image:Scavvy Boss 2.jpg|Scavvy Boss 2 | ||
| + | image:Scavvy mutant with spikes.jpg|Scavvy mutant with spikes | ||
| + | image:Scavvy mutant with claw.jpg|Scavvy mutant with claw | ||
| + | image:Scavvy mutant with extra arm.jpg|Scavvy mutant with extra arm | ||
| + | image:Scavvy with stub gun & knife.jpg|Scavvy with stub gun & knife | ||
| + | image:Scavvy with stub gun & pick.jpg|Scavvy with stub gun & pick | ||
| + | image:Scavvy with shotgun 1.jpg|Scavvy with shotgun 1 | ||
| + | image:Scavvy with shotgun 2.jpg|Scavvy with shotgun 2 | ||
| + | image:Scavvy with shotgun 3.jpg|Scavvy with shotgun 3 | ||
| + | image:Scavvy with autogun.jpg|Scavvy with autogun | ||
| + | image:Scavvy with blunderbuss.jpg|Scavvy with blunderbuss | ||
| + | image:Scavvy with autopistol & knife.jpg|Scavvy with autopistol & knife | ||
| + | image:Scaly with harpoon.jpg|Scaly with harpoon | ||
| + | image:Scaly with scatter cannon.jpg|Scaly with scatter cannon | ||
| + | </gallery> | ||
| + | |||
| + | == 1995-7 Spyrers == | ||
| + | |||
| + | <gallery> | ||
| + | image:Yeld 1.jpg|Yeld 1 | ||
| + | image:Yeld 2.jpg|Yeld 2 | ||
| + | image:Jakara 1.jpg|Jakara 1 | ||
| + | image:Jakara 2.jpg|Jakara 2 | ||
| + | image:Orrus 1.jpg|Orrus 1 | ||
| + | image:Orrus 2.jpg|Orrus 2 | ||
| + | image:Malcadon 1.jpg|Malcadon 1 | ||
| + | image:Malcadon 1.jpg|Malcadon 1 | ||
| + | </gallery> | ||
| + | |||
| + | == 1995-7 Scavvies == | ||
| + | |||
| + | <gallery> | ||
| + | image:Wyrd Beastmaster 1.jpg|Wyrd Beastmaster 1 | ||
| + | image:Wyrd Beastmaster 2.jpg|Wyrd Beastmaster 2 | ||
| + | image:Wyrd Beastmaster 3.jpg|Wyrd Beastmaster 3 | ||
| + | image:Wyrd pyromaniac.jpg|Wyrd pyromaniac | ||
| + | image:Wyrd telekinetic.jpg|Wyrd telekinetic | ||
| + | image:Wyrd telepath.jpg|Wyrd telepath | ||
| + | image:Miiliasaur 1.jpg|Miiliasaur 1 | ||
| + | image:Miiliasaur 2.jpg|Miiliasaur 2 | ||
| + | image:Miiliasaur 3.jpg|Miiliasaur 3 | ||
| + | image:Giant Rat 1.jpg|Giant Rat 1 | ||
| + | image:Giant Rat 2.jpg|Giant Rat 2 | ||
| + | image:Giant Rat 3.jpg|Giant Rat 3 | ||
| + | image:Ripper Jack 1.jpg|Ripper Jack 1 | ||
| + | image:Ripper Jack 2.jpg|Ripper Jack 2 | ||
| + | image:Ripper Jack 3.jpg|Ripper Jack 3 | ||
| + | |||
| + | </gallery> | ||
[[Category:Research]] | [[Category:Research]] | ||
[[Category:Necromunda]] | [[Category:Necromunda]] | ||
Revision as of 15:37, 9 June 2007
Contents
- 1 First Releases - Citadel
- 2 First Releases - Marauder
- 3 Limited Edition Hive Gangers
- 4 Hive Gangers - 1991 Catalogue
- 5 1995-7 Bounty Hunters & Characters
- 6 1995-7 Cawdor Gang
- 7 1995-7 Delaque Gang
- 8 1995-7 Escher Gang
- 9 1995-7 Orlock Gang
- 10 1995-7 Ratskins
- 11 1995-7 Underhive Scum
- 12 1995-7 Van Saar Gang
- 13 1995-7 Goliath Gang
- 14 1995-7 Pit Slaves
- 15 1995-7 Plague Zombies
- 16 1995-7 Redemptionists
- 17 1995-7 Scavvies
- 18 1995-7 Spyrers
- 19 1995-7 Scavvies
First Releases - Citadel
Leader 1
Leader 2
Leader 3


Elite 1
Elite 2
Elite 3
Elite 4


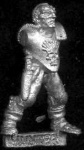
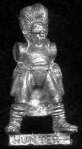
Hunter 1
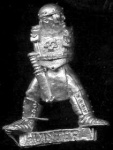
Hunter 2
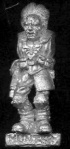
Hunter 3
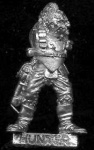
Hunter 4


Maniac 1
Maniac 2
Maniac 3
Maniac 4


Ratskin 1
Ratskin 2
Ratskin 3

Ratskin 4


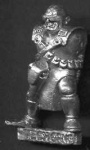
Tech 1
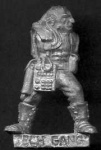
Tech 2
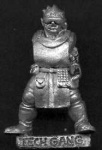
Tech 3
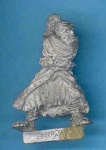
Tech 4
Tech 5


First Releases - Marauder
Ash Waste Nomad 1
Ash Waste Nomad 2
Ash Waste Nomad 3
Ash Waste Nomad 4


Psyker 1
Psyker 2

Psyker 3
Psyker 4


Scavvy 1
Scavvy 2
Scavvy 3
Scavvy 4


Marauder Tech 1
Marauder Tech 2
Marauder Tech 3
Marauder Tech 4


Venator 1

Venator 2
Venator 3
Venator 4


Limited Edition Hive Gangers
LE1 Hive Bratt Ganger
LE2 Hive Bratt Ganger
LE3 Clan Hive Ganger


Hive Gangers - 1991 Catalogue
1991 Tech 1
1991 Tech 6
1991 Tech 7
1991 Tech 8


1991 Scavvy 1
1991 Scavvy 2
1991 Scavvy 3


1991 Bratt 1
1991 Bratt 2

1991 Bratt 3


1991 Bounty Hunter 1
1991 Bounty Hunter 2
1991 Bounty Hunter 3
1991 Bounty Hunter 4
1991 Bounty Hunter 5


1995-7 Bounty Hunters & Characters
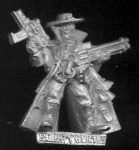
Bounty Hunter 1

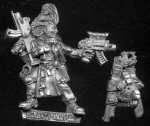
Bounty Hunter 2
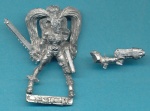
Bounty Hunter 3
Mad Donna Ulanti


1995-7 Cawdor Gang
Cawdor Leader with autopistol & chainsword
Cawdor Leader with boltgun & powersword
Cawdor heavy - heavy stubber
Cawdor heavy - heavy bolter
Cawdor heavy - grenade launcher
Cawdor with shotgun 1

Cawdor with shotgun 2
Cawdor with autogun 1
Cawdor with autogun 2
Cawdor with lasgun 1
Cawdor with lasgun 2

Cawdor with lasgun 3
Cawdor with lasgun 4
Cawdor juve with stub gun 1
Cawdor juve with stub gun 2
Cawdor juve with stub gun 3
Cawdor juve with laspistol


1995-7 Delaque Gang
Delague Leader with boltgun
Delague Leader with boltgun & power axe

Delaque heavy - heavy stubber
Delaque heavy - heavy flamer
Delaque heavy - lascanon
Delaque with shotgun 1
Delaque with shotgun 2
Delaque with autogun 1
Delaque with autogun 2
Delaque with lasgun 1
Delaque with lasgun 2
Delaque with lasgun 3
Delaque with lasgun 4
Delaque juve with stub gun 1
Delaque juve with stub gun 2
Delaque juve with stub guns
Delaque juve with autopistol


1995-7 Escher Gang

Escher Leader with boltgun & laspistol
Escher Leader with autopistol & powersword
Escher heavy - heavy stubber
Escher heavy - heavy plasma gun
Escher with autogun & stub gun
Escher with shotgun
Escher with autogun
Escher with lasgun 1
Escher with lasgun 2
Escher with autopistol & sword
Escher with plasma pistol & club
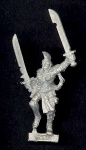
Escher with two swords
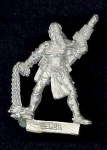
Escher with laspistol & flail
Escher with autopistol & chainsword
Escher with bolt pistol & grenade
Escher juve with stub gun & pick
Escher juve with autopistol
Escher with shotgun & autopistol
Escher juve with stub gun

Escher juve with autopistol & cludgeon


1995-7 Orlock Gang
Orlock Leader with boltgun & axe
Orlock Leader with meltagun & laspistol
Orlock heavy - heavy bolter
Orlock heavy - heavy stubber

Orlock heavy - flamer
Orlock with lasgun 1
Orlock with lasgun 2
Orlock with autogun 1
Orlock with autogun 2
Orlock with autopistol
Orlock with autogun & stub gun
Orlock with shotgun
Orlock with stub gun & pick
Orlock juve with stub gun & club
Orlock juve with autopistol
Orlock juve with stub gun
Orlock juve with laspistol


1995-7 Ratskins

Ratskin Chief 1
Ratskin Chief 2
Ratskin Shaman 1
Ratskin Shaman 2
Brakar the Avenger
Ratskin with shotgun 1
Ratskin with shotgun 2
Ratskin with lasgun 1
Ratskin with lasgun 2
Ratskin with lasgun 3
Ratskin with autogun 1
Ratskin with autogun 2
Ratskin with autogun & pick
Ratskin with musket
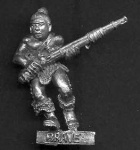
Ratskin Brave with handbow
Ratskin Brave with musket 1
Ratskin Brave with musket 2
Ratskin Brave with stub gun
Ratskin Brave with blunderbuss
Ratskin Brave with autopistol


1995-7 Underhive Scum
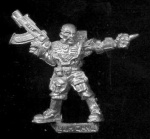
Underhive scum with autopistol & plasma pistol

Underhive scum with bolt pistols
Underhive scum with hand flamer
Underhive scum with plasma pistol


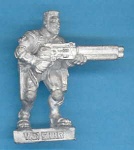
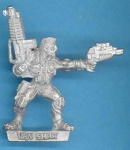
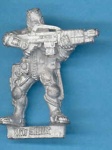
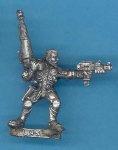
1995-7 Van Saar Gang
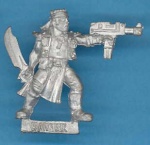
Van Saar Leader with plasma pistol & chainsword
Van Saar Leader with meltagun & chainsword
Van Saar heavy - heavy stubber
Van Saar heavy - heavy plasma gun
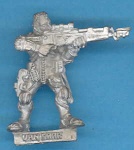
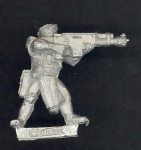
Van Saar with lasgun
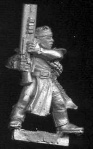
Van Saar with shotgun
Van Saar with autogun & laspistol
Van Saar with autogun
Van Saar with lasgun & autopistol
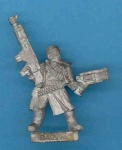
Van Saar with boltgun
Van Saar juve with laspistol

Van Saar juve with autopistol & stub gun
Van Saar juve with autopistol
Van Saar juve with stub gun & club


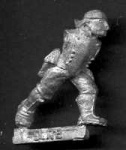
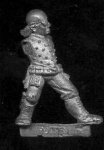
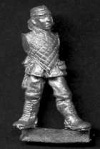
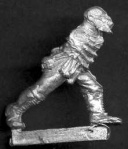
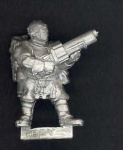
1995-7 Goliath Gang
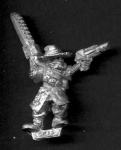
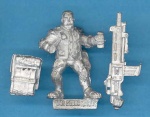
Goliath Leader with chainsword & grenade launcher
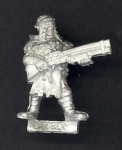
Goliath Leader with meltagun & stub gun
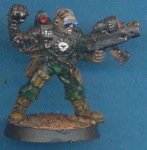
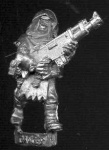
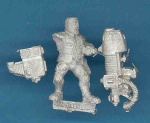
Goliath heavy - heavy stubber
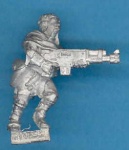
Goliath heavy - heavy bolter
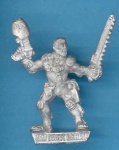
Goliath with hand flamer
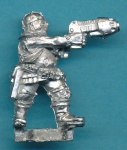
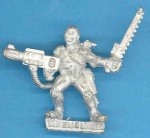
Goliath with lasgun & autopistol

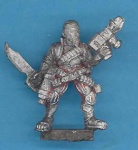
Goliath with autogun & axe
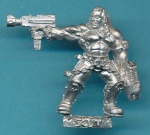
Goliath with autogun
Goliath with lasgun & stub gun
Goliath with shotgun
Goliath juve with laspistol 1
Goliath juve with laspistol 2
Goliath juve with stub gun
Goliath juve with autopistol


1995-7 Pit Slaves
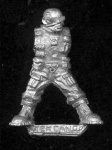
Pit Slave Chief
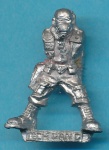
Pit Slave techno
Pit Slave 1
Pit Slave 2
Pit Slave 3
Pit Slave 4
Pit Slave 5


1995-7 Plague Zombies

Karloth Valois
Plague Zombie 1
Plague Zombie 2
Plague Zombie 3
Plague Zombie 4
Plague Zombie 5
Plague Zombie 6


1995-7 Redemptionists
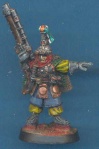
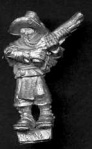
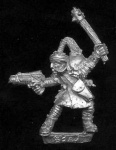
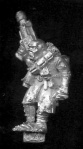
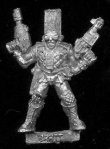
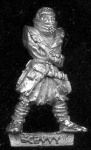
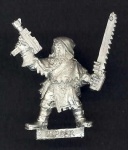
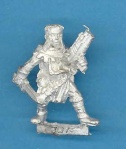
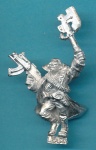
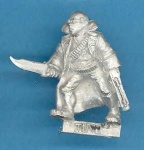
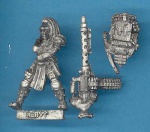
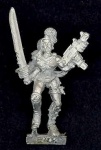
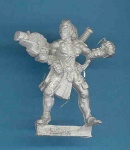
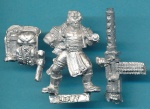
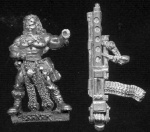
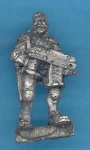
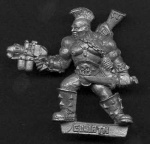
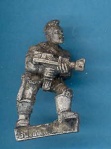
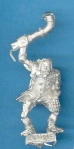
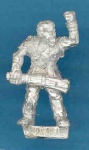
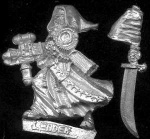
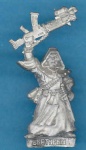
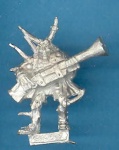
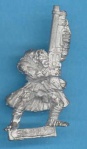
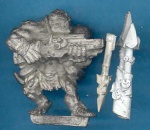
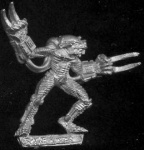
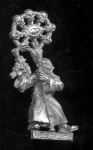
Arch Zealot
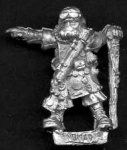
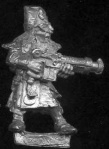
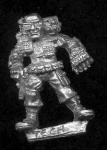
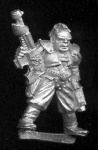
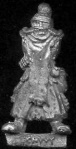
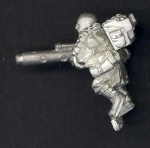
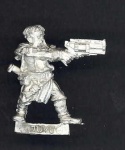
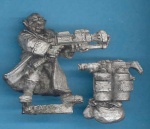
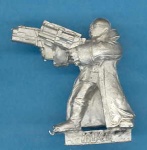
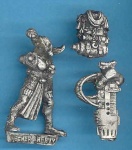
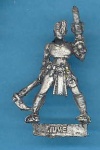
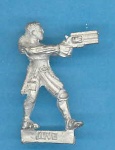
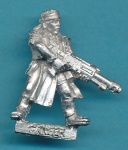
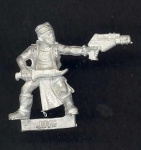
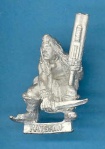
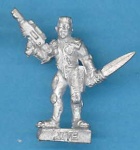
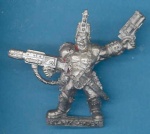
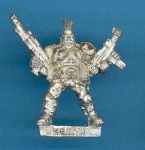
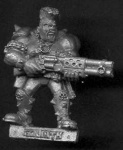
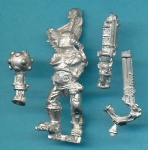
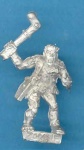
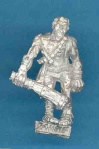
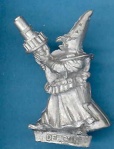
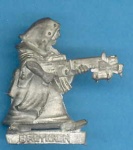
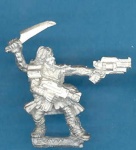
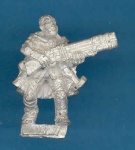
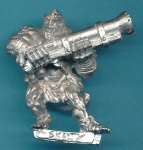
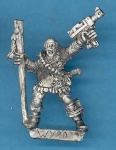
Redemptor Priest with meltagun
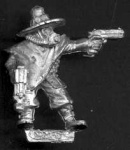
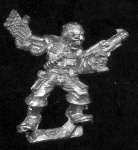
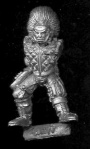
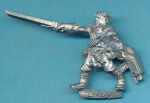
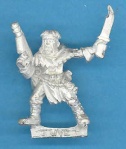
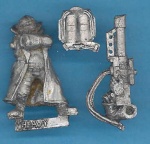
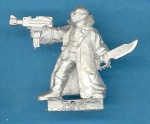
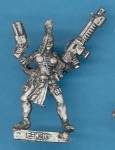
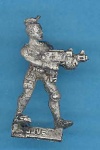
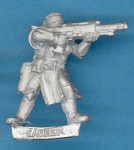
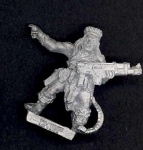
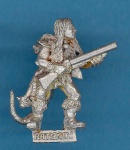
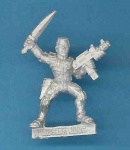
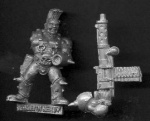
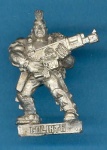
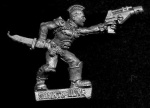
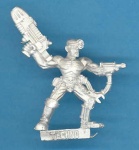
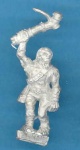
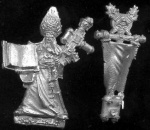
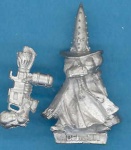
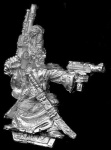
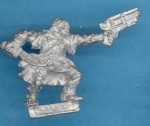
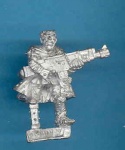
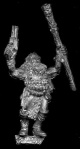
Redemptor Priest with flamer & sword
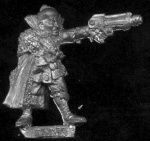
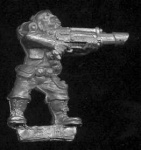
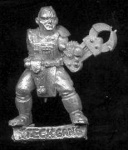
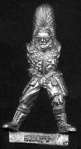
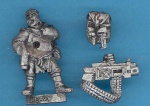
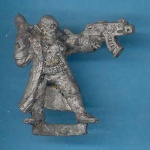
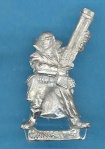
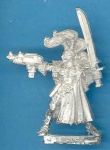
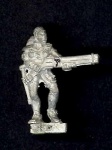
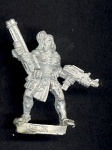
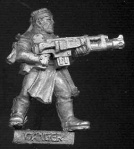
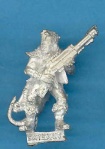
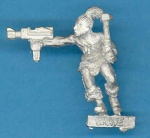
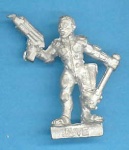
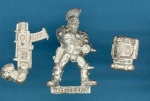
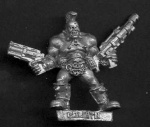
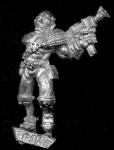
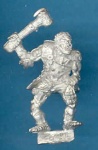
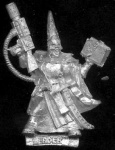
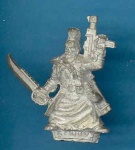
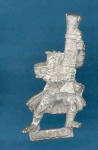
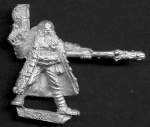
Deacon with grenade launcher
Deacon with flamer
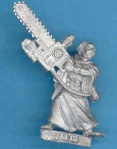
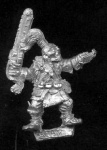
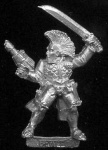
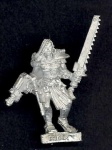
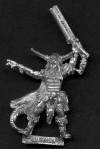
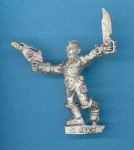
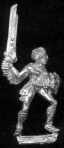
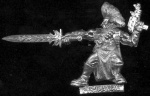
Zealot with eviscerator
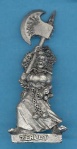
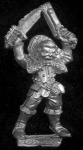
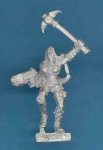
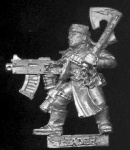
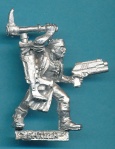
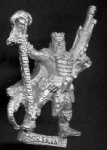
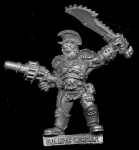
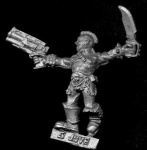
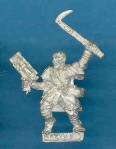
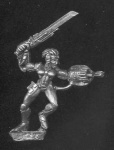
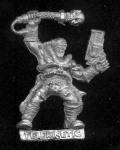
Zealot with massive axe
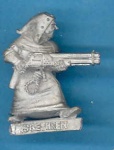
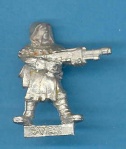
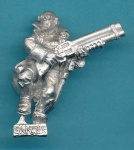
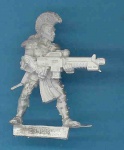
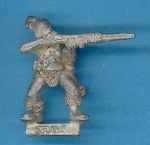
Brethren with shotgun 1
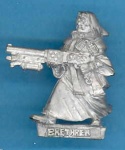
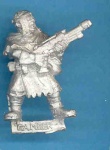
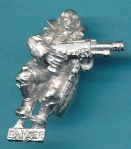
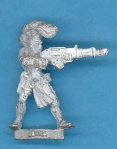
Brethren with shotgun 2
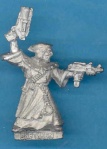
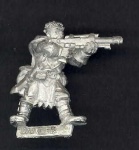
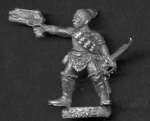
Brethren with stub gun & autopistol
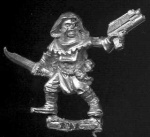
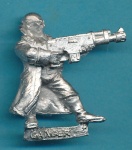
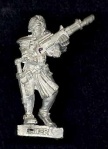
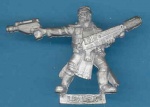
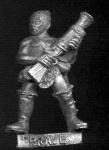
Brethren with autogun 1
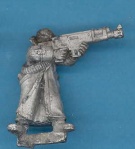
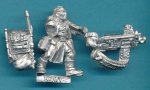
Brethren with autogun 2

Brethren with two autopistols


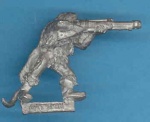
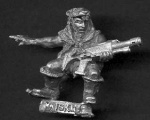
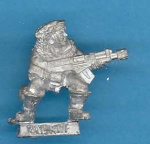
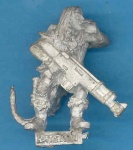
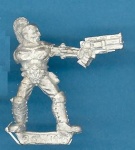
1995-7 Scavvies
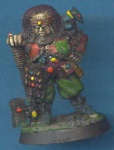
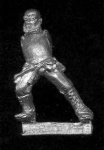
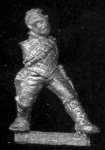
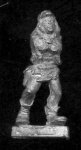
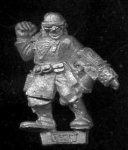
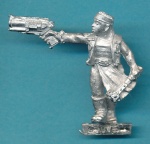
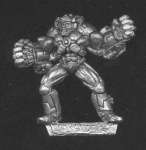
Scavvy Boss 1
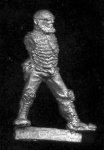
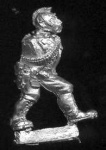
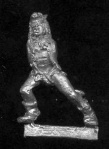
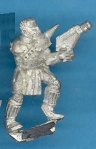
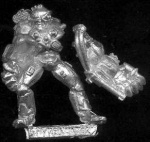
Scavvy Boss 2
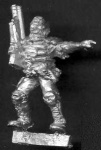
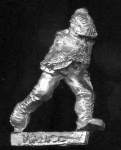
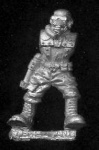
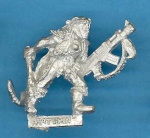
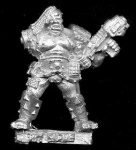
Scavvy mutant with spikes

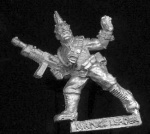
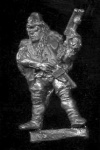
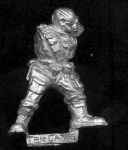
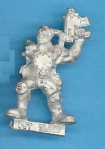
Scavvy mutant with claw
Scavvy mutant with extra arm
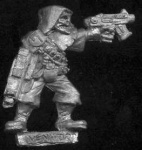
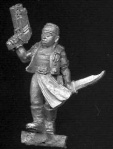
Scavvy with stub gun & knife
Scavvy with stub gun & pick
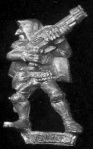
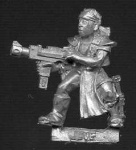
Scavvy with shotgun 1
Scavvy with shotgun 2

Scavvy with shotgun 3
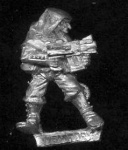
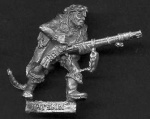
Scavvy with autogun
Scavvy with blunderbuss

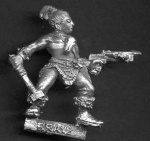
Scavvy with autopistol & knife
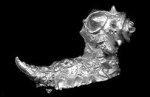
Scaly with harpoon
Scaly with scatter cannon


1995-7 Spyrers
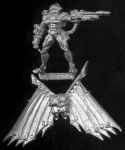
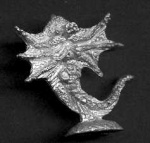
Yeld 1
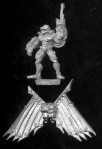
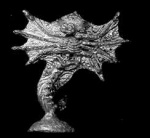
Yeld 2
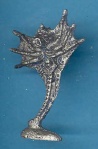
Jakara 1
Jakara 2
Orrus 1
Orrus 2
Malcadon 1
Malcadon 1


1995-7 Scavvies
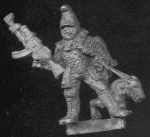
Wyrd Beastmaster 1
Wyrd Beastmaster 2
Wyrd Beastmaster 3
Wyrd pyromaniac
Wyrd telekinetic
Wyrd telepath
Miiliasaur 1
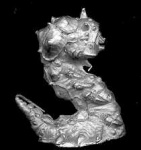
Miiliasaur 2
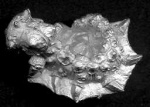
Miiliasaur 3

Giant Rat 1
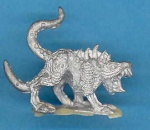
Giant Rat 2
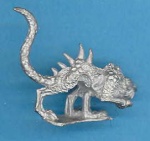
Giant Rat 3
Ripper Jack 1
Ripper Jack 2
Ripper Jack 3


