Difference between revisions of "The Fellowship of the Ring"
(Created page with "This page is part of the [http://www.collecting-citadel-miniatures.com/wiki/index.php/Lord_of_the_Rings_-_2001_onwards Lord Of the Rings - 2001 Onwards Collectors Guide] == Nove...") |
(→Moria Goblin Warriors) |
||
| (55 intermediate revisions by 3 users not shown) | |||
| Line 36: | Line 36: | ||
=== Warriors of Middle-Earth Plastic Box Set === | === Warriors of Middle-Earth Plastic Box Set === | ||
| − | + | Also contained in the boxed set with rule book and Moria goblins | |
<gallery> | <gallery> | ||
file:Warriors of Middle-Earth Box Front.jpg|<center>Warriors of Middle-Earth Box Front | file:Warriors of Middle-Earth Box Front.jpg|<center>Warriors of Middle-Earth Box Front | ||
file:Warriors of Middle-Earth Box Rear.jpg|<center>Warriors of Middle-Earth Box Rear | file:Warriors of Middle-Earth Box Rear.jpg|<center>Warriors of Middle-Earth Box Rear | ||
| − | file:Warriors of Middle-Earth Sprue.jpg|<center>Warriors of Middle-Earth Sprue | + | file:Warriors of Middle-Earth Sprue1.jpg|<center>Warriors of Middle-Earth Sprue 1 |
| + | file:Warriors of Middle-Earth Sprue2.jpg|<center>Warriors of Middle-Earth Sprue 2 | ||
| + | </gallery> | ||
| + | |||
| + | === Moria Goblin Warriors Plastic Box Set === | ||
| + | Also contained in the boxed set with rule book and Warriors of Middle-Earth | ||
| + | <gallery> | ||
| + | file:Moria Goblin Warriors Box Front.jpg|<center>Moria Goblin Warriors Box Front | ||
| + | file:Moria Goblin Warriors Box Rear.jpg|<center>Moria Goblin Warriors Box Rear | ||
| + | file:Moria Goblin Warriors Sprue1.jpg|<center>Moria Goblin Warriors Sprue | ||
</gallery> | </gallery> | ||
=== Bilbo Baggins === | === Bilbo Baggins === | ||
| + | Originally available as a mail order only model in UK but on general release in other countries | ||
<gallery> | <gallery> | ||
file:Bilbo Baggins.jpg|<center>Bilbo Baggins | file:Bilbo Baggins.jpg|<center>Bilbo Baggins | ||
| Line 53: | Line 63: | ||
</gallery> | </gallery> | ||
| − | === Men of Gondor === | + | === Men of Gondor - Spearmen === |
| − | <gallery> | + | Originally available as a blister containing three random models |
| + | <gallery perrow=5> | ||
file:Men of Gondor Spearman 1.jpg|<center>Men of Gondor Spearman 1 | file:Men of Gondor Spearman 1.jpg|<center>Men of Gondor Spearman 1 | ||
file:Men of Gondor Spearman 2.jpg|<center>Men of Gondor Spearman 2 | file:Men of Gondor Spearman 2.jpg|<center>Men of Gondor Spearman 2 | ||
file:Men of Gondor Spearman 3.jpg|<center>Men of Gondor Spearman 3 | file:Men of Gondor Spearman 3.jpg|<center>Men of Gondor Spearman 3 | ||
| − | file:Men of Gondor Spearman 4.jpg|<center>Men of Gondor Spearman 4 | + | file:Men of Gondor Spearman 4.jpg|<center>Men of Gondor Spearman 4 |
| + | file:Men of Gondor Spears.jpg|<center>Men of Gondor Spears | ||
| + | </gallery> | ||
| + | |||
| + | === Men of Gondor - Bowmen === | ||
| + | Originally available as a blister containing three random models | ||
| + | <gallery> | ||
file:Men of Gondor Bowman 1.jpg|<center>Men of Gondor Bowman 1 | file:Men of Gondor Bowman 1.jpg|<center>Men of Gondor Bowman 1 | ||
file:Men of Gondor Bowman 2.jpg|<center>Men of Gondor Bowman 2 | file:Men of Gondor Bowman 2.jpg|<center>Men of Gondor Bowman 2 | ||
| Line 74: | Line 91: | ||
=== Uruk-Hai === | === Uruk-Hai === | ||
| − | <gallery> | + | <gallery perrow=5> |
file:Uruk-Hai Warrior 1.jpg|<center>Uruk-Hai Warrior 1 | file:Uruk-Hai Warrior 1.jpg|<center>Uruk-Hai Warrior 1 | ||
file:Uruk-Hai Warrior 2.jpg|<center>Uruk-Hai Warrior 2 | file:Uruk-Hai Warrior 2.jpg|<center>Uruk-Hai Warrior 2 | ||
file:Uruk-Hai Warrior 3.jpg|<center>Uruk-Hai Warrior 3 | file:Uruk-Hai Warrior 3.jpg|<center>Uruk-Hai Warrior 3 | ||
file:Uruk-Hai Warrior 4.jpg|<center>Uruk-Hai Warrior 4 | file:Uruk-Hai Warrior 4.jpg|<center>Uruk-Hai Warrior 4 | ||
| + | file:Uruk-Hai Warrior 5.jpg|<center>Uruk-Hai Warrior Shields | ||
file:Uruk-Hai Bowman 1.jpg|<center>Uruk-Hai Bowman 1 | file:Uruk-Hai Bowman 1.jpg|<center>Uruk-Hai Bowman 1 | ||
file:Uruk-Hai Bowman 2.jpg|<center>Uruk-Hai Bowman 2 | file:Uruk-Hai Bowman 2.jpg|<center>Uruk-Hai Bowman 2 | ||
| Line 109: | Line 127: | ||
=== Orc Warriors === | === Orc Warriors === | ||
| − | <gallery> | + | <gallery perrow=5> |
| − | file:Orc Warrior | + | file:Orc Warrior 1a.jpg|<center>Orc Warrior 1 |
| − | file:Orc Warrior | + | file:Orc Warrior 2a.jpg|<center>Orc Warrior 2 |
| − | file:Orc Warrior | + | file:Orc Warrior 3a.jpg|<center>Orc Warrior 3 |
| − | file:Orc Warrior | + | file:Orc Warrior 4a.jpg|<center>Orc Warrior 4 |
| − | file:Orc Warrior | + | file:Orc Warrior 5a.jpg|<center>Orc Warrior 5 |
| − | file:Orc Warrior | + | file:Orc Warrior 6a.jpg|<center>Orc Warrior 6 |
| − | file:Orc Warrior | + | file:Orc Warrior 7a.jpg|<center>Orc Warrior 7 |
| − | file:Orc Warrior | + | file:Orc Warrior 8a.jpg|<center>Orc Warrior 8 |
| − | file:Orc Warrior | + | file:Orc Warrior 9a.jpg|<center>Orc Warrior 9 |
| − | file:Orc Warrior | + | file:Orc Warrior 10a.jpg|<center>Orc Warrior 10 |
| − | file:Orc Warrior | + | file:Orc Warrior 11a.jpg|<center>Orc Warrior 11 |
| − | file:Orc Warrior | + | file:Orc Warrior 12a.jpg|<center>Orc Warrior 12 |
| − | file:Orc Warrior | + | file:Orc Warrior 13a.jpg|<center>Orc Warrior 13 |
| − | file:Orc Warrior | + | file:Orc Warrior 14a.jpg|<center>Orc Warrior 14 |
</gallery> | </gallery> | ||
| Line 136: | Line 154: | ||
=== Mounted Ringwraiths === | === Mounted Ringwraiths === | ||
| − | <gallery> | + | <gallery perrow=5> |
| + | file:Mounted Ringwraith Box Front.jpg|<center>Mounted Ringwraith Box Front | ||
| + | file:Mounted Ringwraith Box Back.jpg|<center>Mounted Ringwraith Box Back | ||
file:Mounted Ringwraith 1.jpg|<center>Mounted Ringwraith 1 | file:Mounted Ringwraith 1.jpg|<center>Mounted Ringwraith 1 | ||
file:Mounted Ringwraith 2.jpg|<center>Mounted Ringwraith 2 | file:Mounted Ringwraith 2.jpg|<center>Mounted Ringwraith 2 | ||
| Line 143: | Line 163: | ||
=== High Elf Warriors === | === High Elf Warriors === | ||
| − | <gallery> | + | <gallery perrow=5> |
file:High Elf Warrior 1.jpg|<center>High Elf Warrior 1 | file:High Elf Warrior 1.jpg|<center>High Elf Warrior 1 | ||
file:High Elf Warrior 2.jpg|<center>High Elf Warrior 2 | file:High Elf Warrior 2.jpg|<center>High Elf Warrior 2 | ||
file:High Elf Warrior 3.jpg|<center>High Elf Warrior 3 | file:High Elf Warrior 3.jpg|<center>High Elf Warrior 3 | ||
file:High Elf Warrior 4.jpg|<center>High Elf Warrior 4 | file:High Elf Warrior 4.jpg|<center>High Elf Warrior 4 | ||
| + | file:High Elf Warrior Shield.jpg|<center>High Elf Warrior Shield | ||
</gallery> | </gallery> | ||
| Line 160: | Line 181: | ||
=== Ringwraiths === | === Ringwraiths === | ||
| − | <gallery> | + | These are the same models as the Nazgul from the 'Attack at Weathertop' Box Set |
| + | <gallery perrow=5> | ||
file:Ringwraith 1.jpg|<center>Ringwraith 1 | file:Ringwraith 1.jpg|<center>Ringwraith 1 | ||
file:Ringwraith 2.jpg|<center>Ringwraith 2 | file:Ringwraith 2.jpg|<center>Ringwraith 2 | ||
file:Ringwraith 3.jpg|<center>Ringwraith 3 | file:Ringwraith 3.jpg|<center>Ringwraith 3 | ||
file:Ringwraith 4.jpg|<center>Ringwraith 4 | file:Ringwraith 4.jpg|<center>Ringwraith 4 | ||
| − | file:Ringwraith 5.jpg|<center>Ringwraith 5 | + | file:Ringwraith 5.jpg|<center>Ringwraith 5 (Witch King) |
</gallery> | </gallery> | ||
| Line 177: | Line 199: | ||
file:Kings of Men 1.jpg|<center>Kings of Men 1 | file:Kings of Men 1.jpg|<center>Kings of Men 1 | ||
file:Kings of Men 2.jpg|<center>Kings of Men 2 | file:Kings of Men 2.jpg|<center>Kings of Men 2 | ||
| − | |||
| − | |||
</gallery> | </gallery> | ||
| Line 190: | Line 210: | ||
=== Moria Goblin Warriors === | === Moria Goblin Warriors === | ||
| − | <gallery> | + | <gallery perrow=5> |
file:Moria Goblin Warrior 1.jpg|<center>Moria Goblin Warrior 1 | file:Moria Goblin Warrior 1.jpg|<center>Moria Goblin Warrior 1 | ||
file:Moria Goblin Warrior 2.jpg|<center>Moria Goblin Warrior 2 | file:Moria Goblin Warrior 2.jpg|<center>Moria Goblin Warrior 2 | ||
file:Moria Goblin Warrior 3.jpg|<center>Moria Goblin Warrior 3 | file:Moria Goblin Warrior 3.jpg|<center>Moria Goblin Warrior 3 | ||
file:Moria Goblin Warrior 4.jpg|<center>Moria Goblin Warrior 4 | file:Moria Goblin Warrior 4.jpg|<center>Moria Goblin Warrior 4 | ||
| + | file:Moria Goblin Warrior 5.jpg|<center>Moria Goblin Warrior Shield | ||
</gallery> | </gallery> | ||
| + | |||
| + | {| class="wikitable" align="center" | ||
| + | !Prev. !! Up !! Next | ||
| + | |- | ||
| + | | No Previous Page | ||
| + | | [[Lord_of_the_Rings_-_2001_onwards| Guide Index]] | ||
| + | | [[The Fellowship of the Ring 2]] | ||
| + | |} | ||
| − | [[Category:Lord | + | [[Category:Middle-Earth]] |
| − | [[Category: | + | [[Category:Lord of the Rings]] |
| + | [[Category:Lord of the Rings 2001]] | ||
Latest revision as of 15:47, 3 January 2020
This page is part of the Lord Of the Rings - 2001 Onwards Collectors Guide
Contents
November 2001
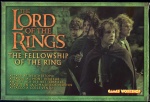
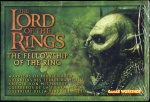
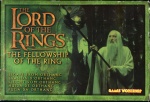
The Fellowship Of The Ring Box Set

The Fellowship of the Ring - Box Front 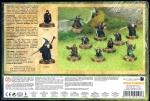
The Fellowship of the Ring - Box Back 
Gandalf 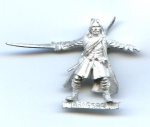
Aragon 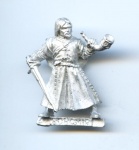
Boromir 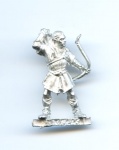
Legolas 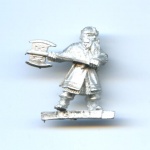
Gimli 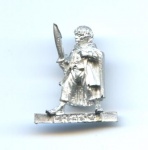
Frodo 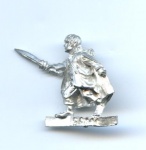
Sam 
Merry 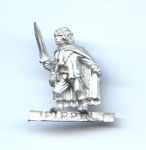
Pippin


Attack At Weathertop Box Set
Attack at Weathertop - Box Front 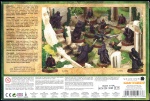
Attack at Weathertop - Box Back 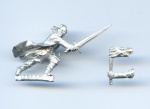
Aragon 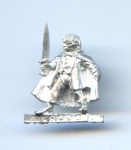
Frodo 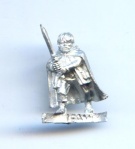
Sam 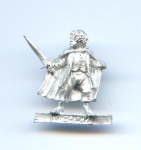
Merry 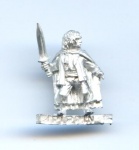
Pippin 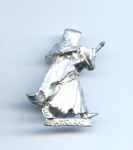
The Witch King 
Ringwraith 1 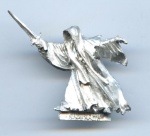
Ringwraith 2 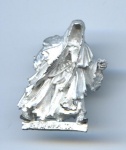
Ringwraith 3 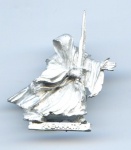
Ringwraith 4 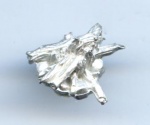
Campfire


Warriors of Middle-Earth Plastic Box Set
Also contained in the boxed set with rule book and Moria goblins
Warriors of Middle-Earth Box Front 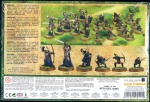
Warriors of Middle-Earth Box Rear Warriors of Middle-Earth Sprue 1 Warriors of Middle-Earth Sprue 2


Moria Goblin Warriors Plastic Box Set
Also contained in the boxed set with rule book and Warriors of Middle-Earth
Moria Goblin Warriors Box Front Moria Goblin Warriors Box Rear 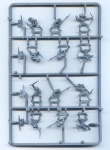
Moria Goblin Warriors Sprue

Bilbo Baggins
Originally available as a mail order only model in UK but on general release in other countries
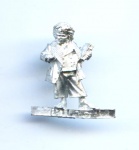
Bilbo Baggins

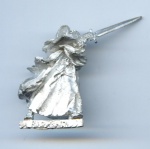
Saruman The White
Saruman The White

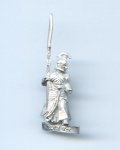
Men of Gondor - Spearmen
Originally available as a blister containing three random models
Men of Gondor Spearman 1 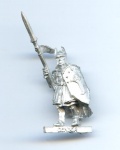
Men of Gondor Spearman 2 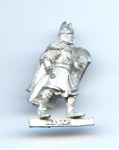
Men of Gondor Spearman 3 
Men of Gondor Spearman 4 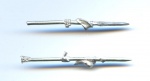
Men of Gondor Spears


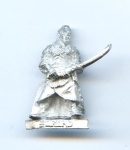
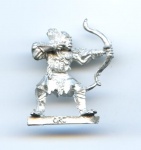
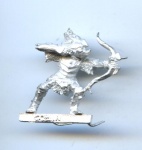
Men of Gondor - Bowmen
Originally available as a blister containing three random models
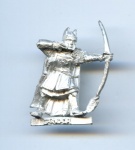
Men of Gondor Bowman 1 
Men of Gondor Bowman 2 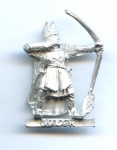
Men of Gondor Bowman 3 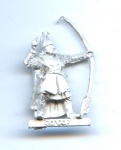
Men of Gondor Bowman 4


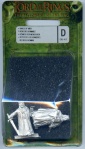
Elrond
Elrond

Uruk-Hai

Uruk-Hai Warrior 1 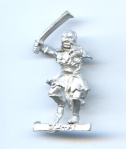
Uruk-Hai Warrior 2 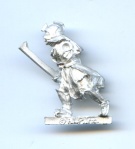
Uruk-Hai Warrior 3 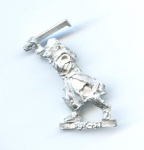
Uruk-Hai Warrior 4 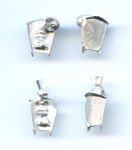
Uruk-Hai Warrior Shields 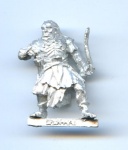
Uruk-Hai Bowman 1 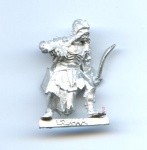
Uruk-Hai Bowman 2 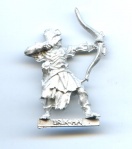
Uruk-Hai Bowman 3 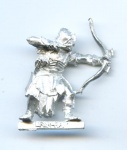
Uruk-Hai Bowman 4


December 2001
Escape from Orthanc Box set
Escape From Orthanc - Box Front 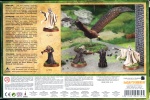
Escape From Orthanc - Box Back 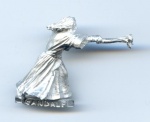
Gandalf 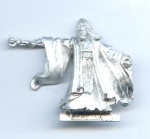
Saruman 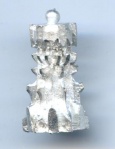
Palantir 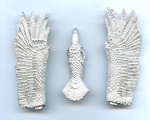
Gwahir


Cave Troll
Cave Troll

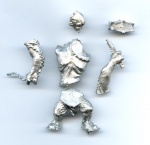
Lurtz
Lurtz

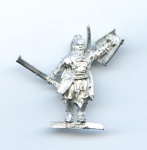
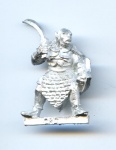
Orc Warriors
Orc Warrior 1 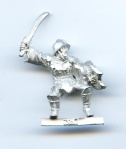
Orc Warrior 2 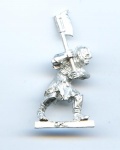
Orc Warrior 3 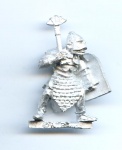
Orc Warrior 4 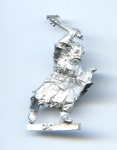
Orc Warrior 5 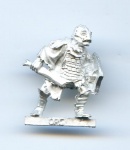
Orc Warrior 6 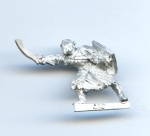
Orc Warrior 7 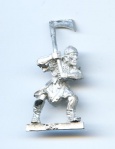
Orc Warrior 8 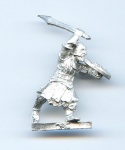
Orc Warrior 9 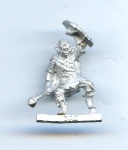
Orc Warrior 10 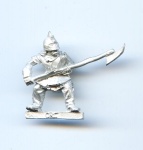
Orc Warrior 11 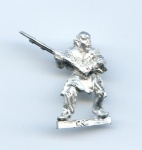
Orc Warrior 12 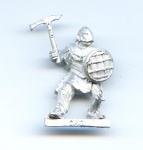
Orc Warrior 13 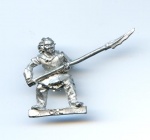
Orc Warrior 14


Orc Bowmen
Orc Bowman 1 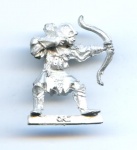
Orc Bowmen 2 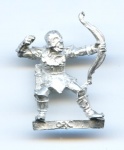
Orc Bowmen 3 
Orc Bowmen 4


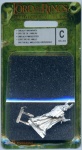
Mounted Ringwraiths

Mounted Ringwraith Box Front 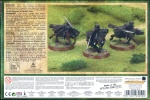
Mounted Ringwraith Box Back 
Mounted Ringwraith 1 
Mounted Ringwraith 2 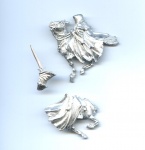
Mounted Ringwraith 3


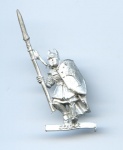
High Elf Warriors
High Elf Warrior 1 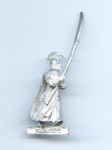
High Elf Warrior 2 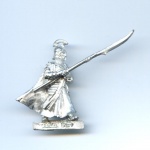
High Elf Warrior 3 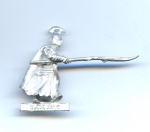
High Elf Warrior 4 
High Elf Warrior Shield


January 2002
Twilight Ringwraiths
Twilight Ringwraith 1 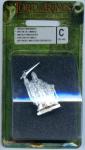
Twilight Ringwraith 2 
Twilight Ringwraith 3


Ringwraiths
These are the same models as the Nazgul from the 'Attack at Weathertop' Box Set
Ringwraith 1 
Ringwraith 2 
Ringwraith 3 
Ringwraith 4 
Ringwraith 5 (Witch King)


Arwen Evenstar
Arwen Evenstar

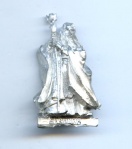
Kings of Men
Kings of Men 1 
Kings of Men 2


Moria Goblin Bowmen
Moria Goblin Bowman 1 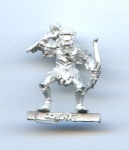
Moria Goblin Bowman 2 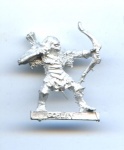
Moria Goblin Bowman 3 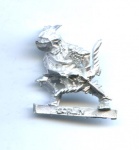
Moria Goblin Bowman 4


Moria Goblin Warriors
Moria Goblin Warrior 1 
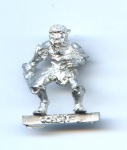
Moria Goblin Warrior 2 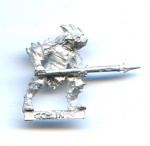
Moria Goblin Warrior 3 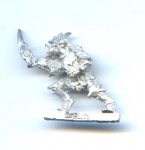
Moria Goblin Warrior 4 
Moria Goblin Warrior Shield


| Prev. | Up | Next |
|---|---|---|
| No Previous Page | Guide Index | The Fellowship of the Ring 2 |